Learn about Private Channels
Last updated: May 15, 2025
In this guide, we’ll explore Private Channels in your Fireflies Notebook.
Related: How to Organize Meetings In Your Notebook
Introduction to Private channel
- Private channels are folders with limited access. Only users you add to the channel can view the folder.
- Only Business and Enterprise plans users can create a Private channel.
- You need to be a workspace admin to create a Private channel.
Note:
- A Private channel cannot be made public.
- If your meeting's privacy settings are set to Public, anyone with the link can access it, even if it's added to a Private channel.
Related article: How to control the meeting privacy settings.
How to create a Private Channel
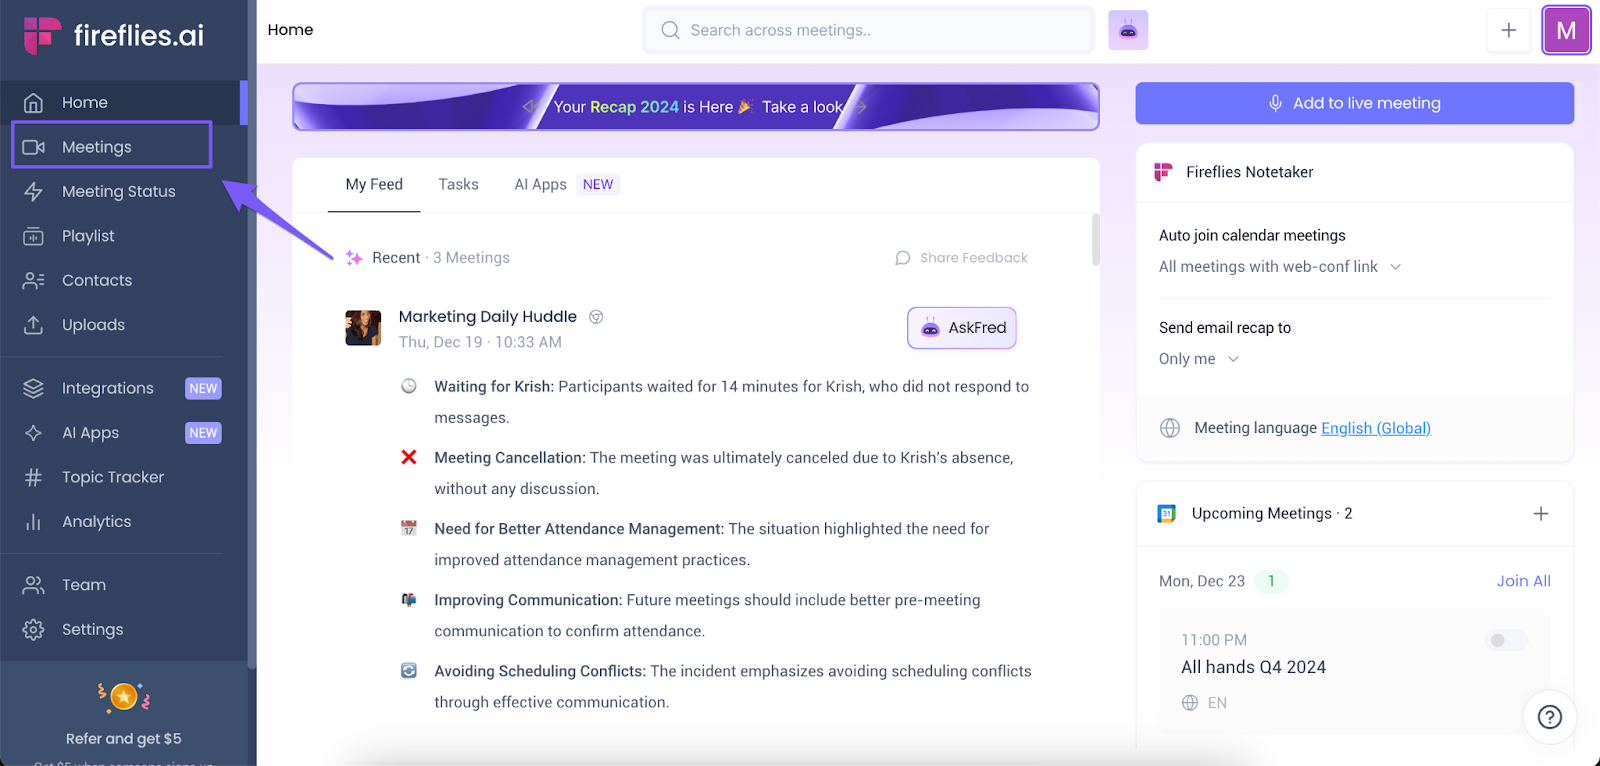
- Click Meetings on the navigation bar to open your Fireflies Notebook.
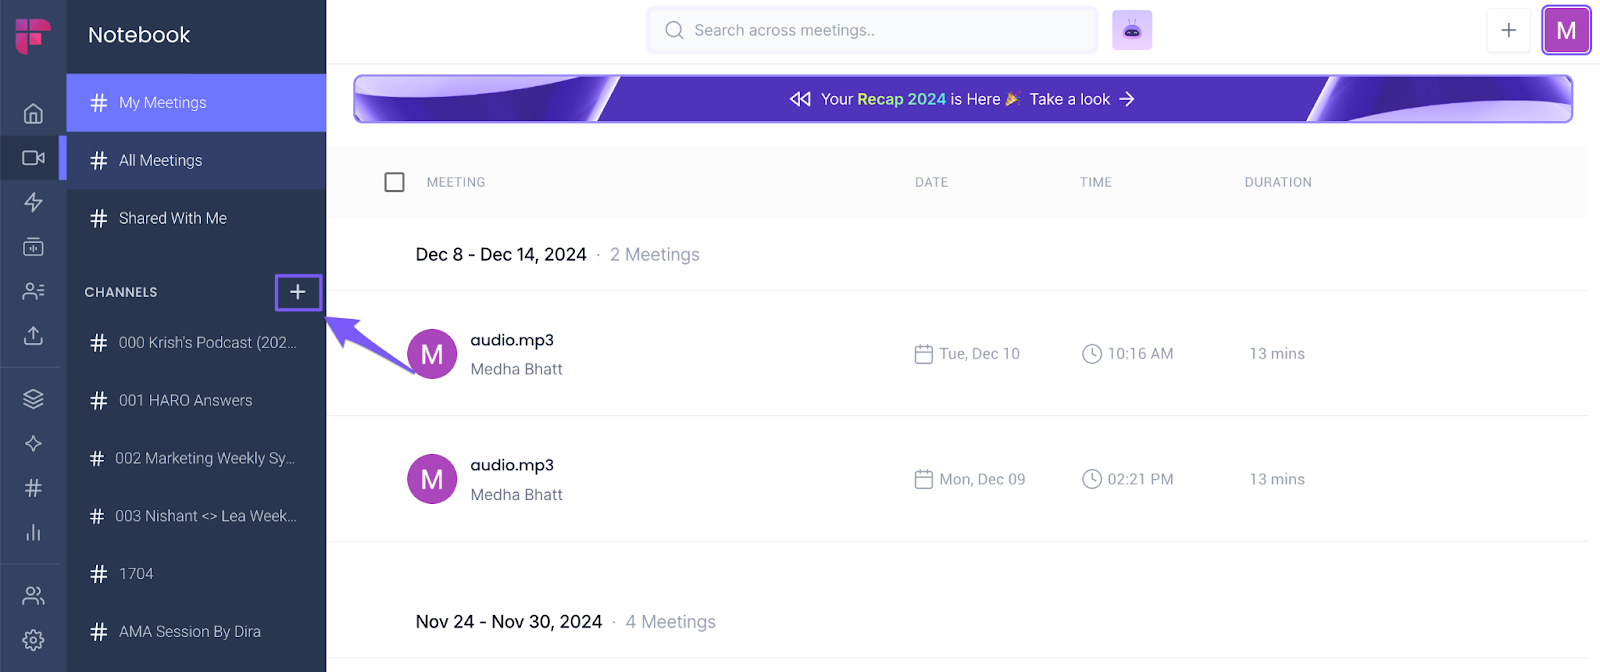
- Click the + icon on the left side panel. A pop-up will appear.
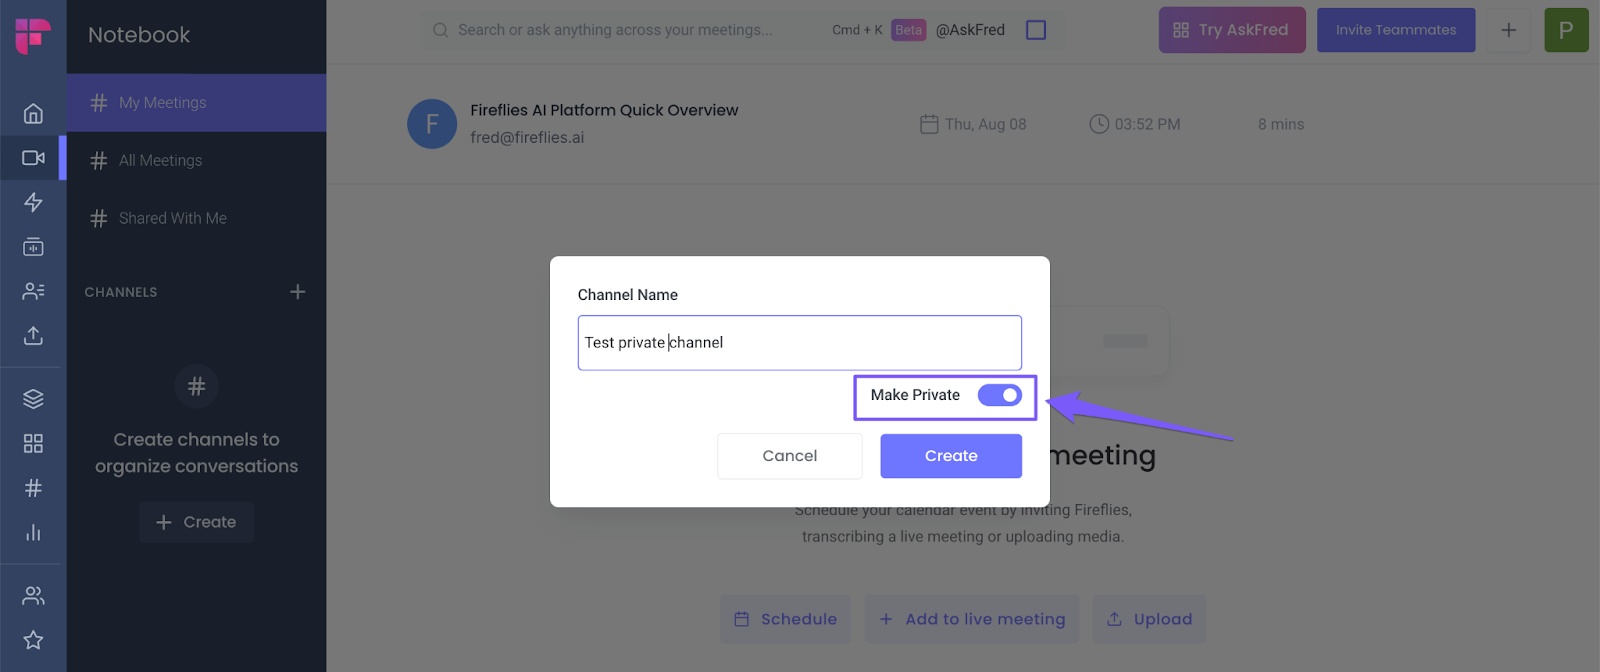
- Type in a Channel name. You can use any name under 100 characters in length.
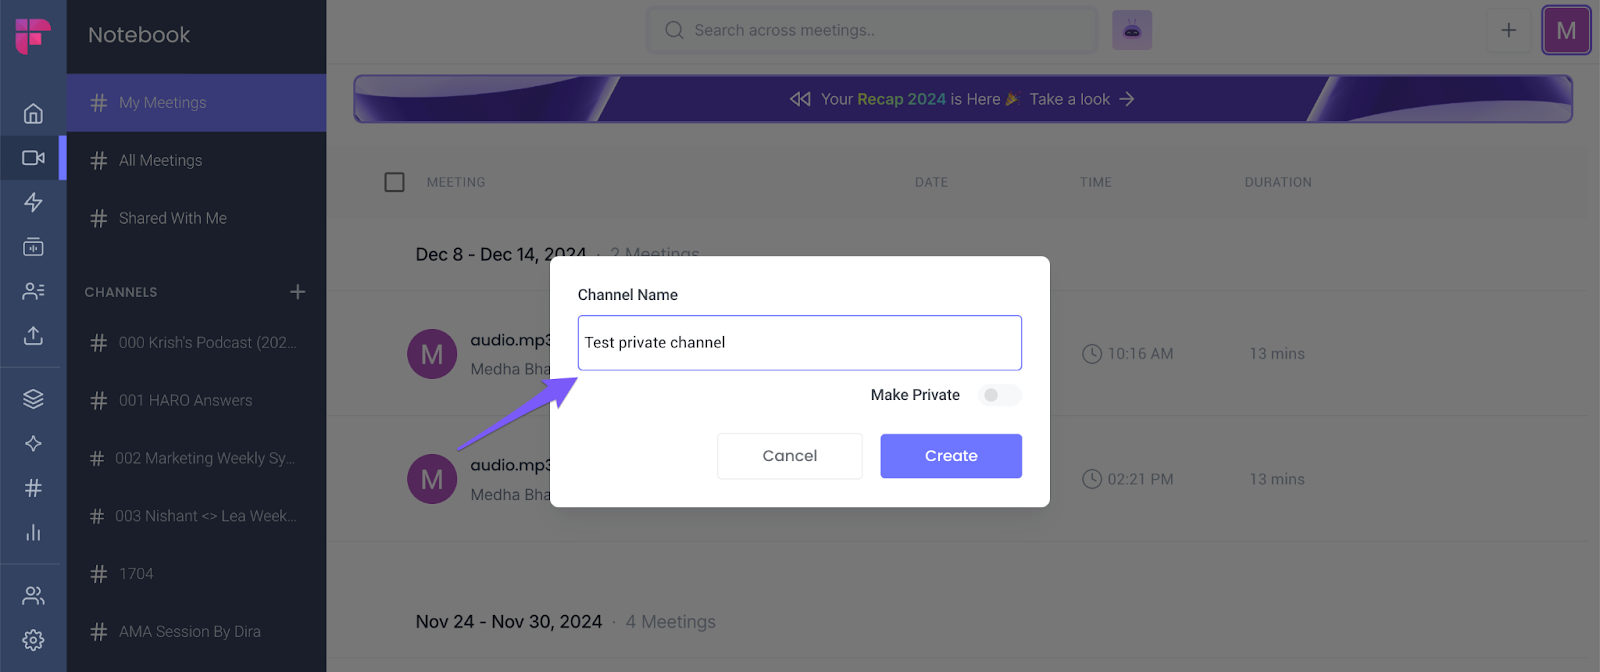
- Turn on the toggle against Make Private.
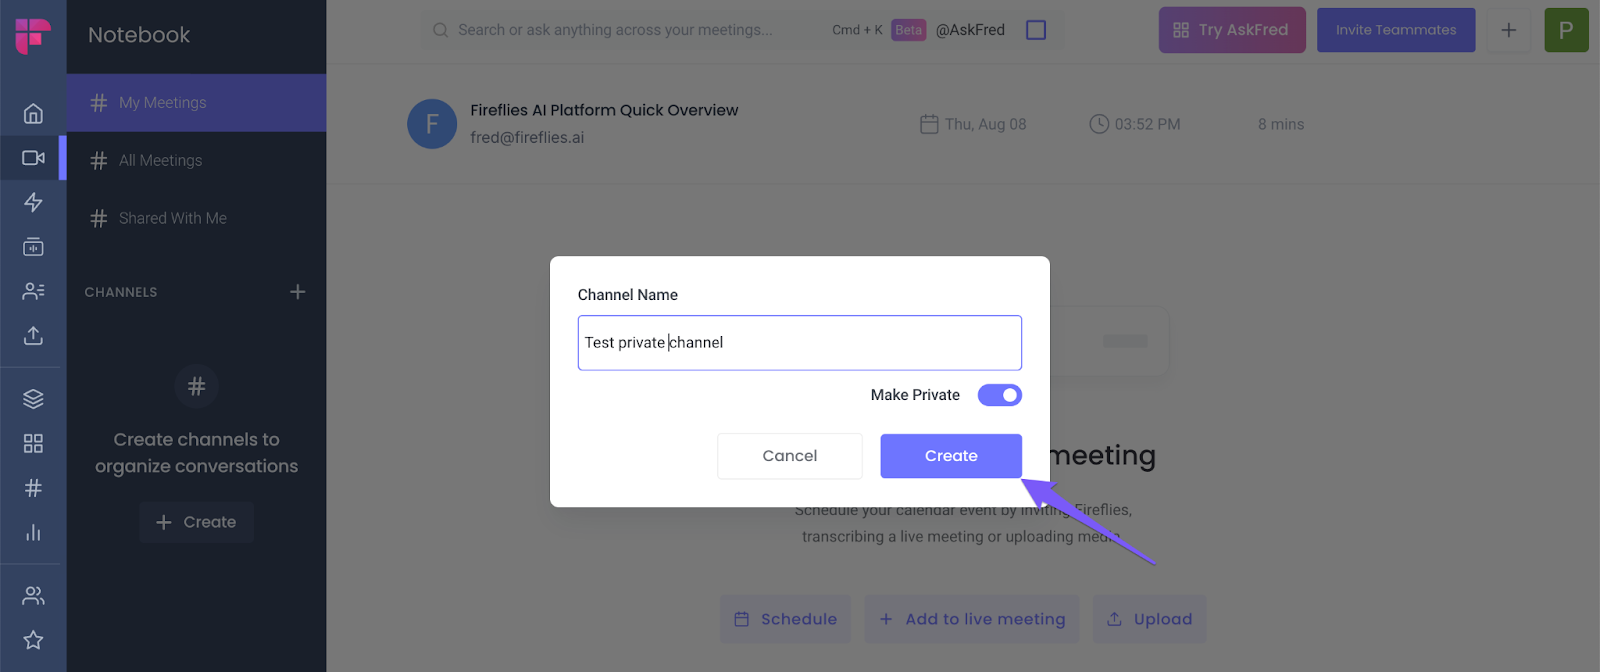
- Click Create.
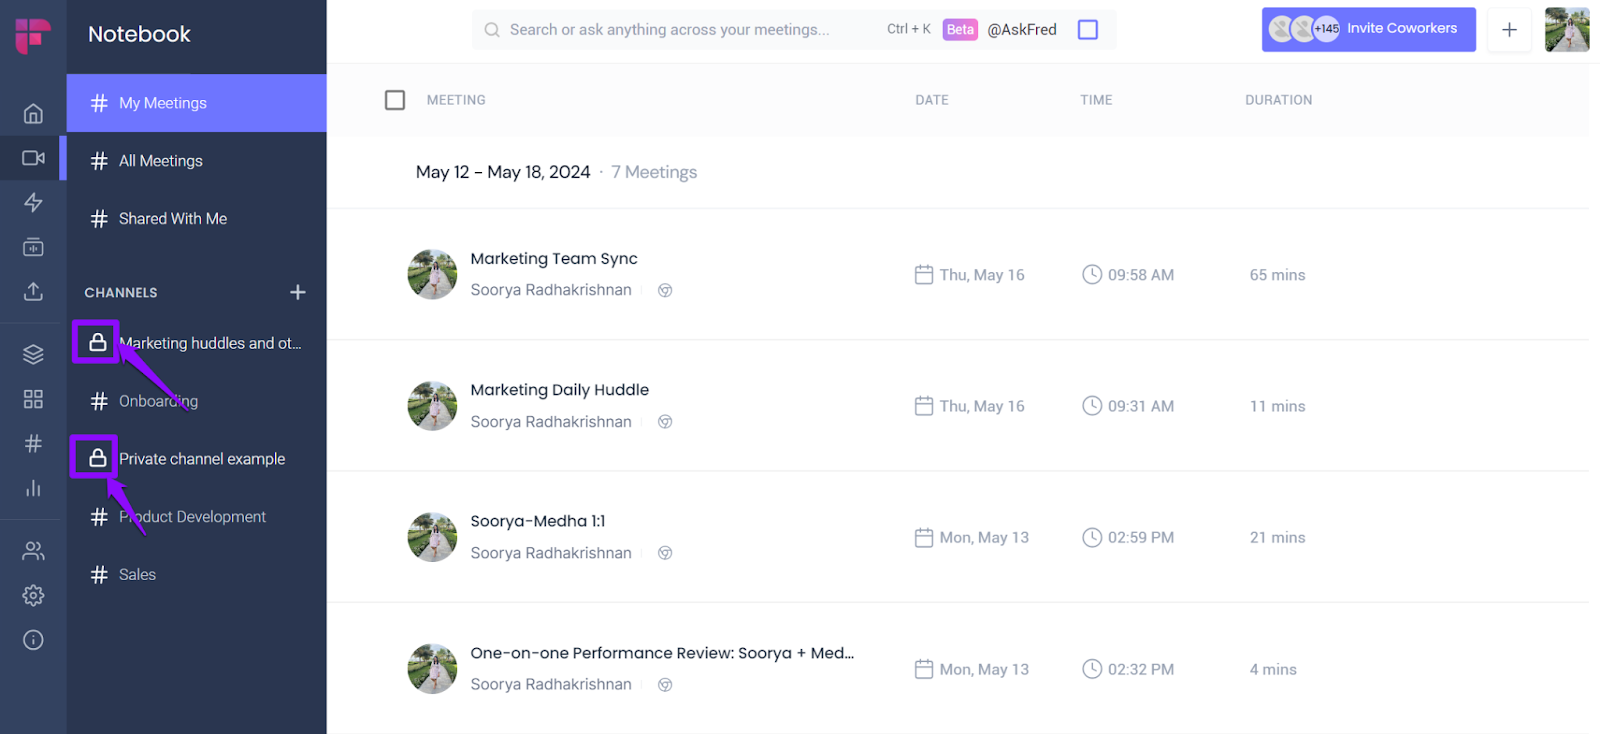
- A Private Channel will have a lock icon next to its name.
How to add meetings to a Private Channel
Only meetings you own can be added to a private channel. You can add meetings to a Private Channel in several ways:
- Add meetings via the Add Recap option.
- Drag and drop meetings to the channel.
- Directly move a meeting to the channel.
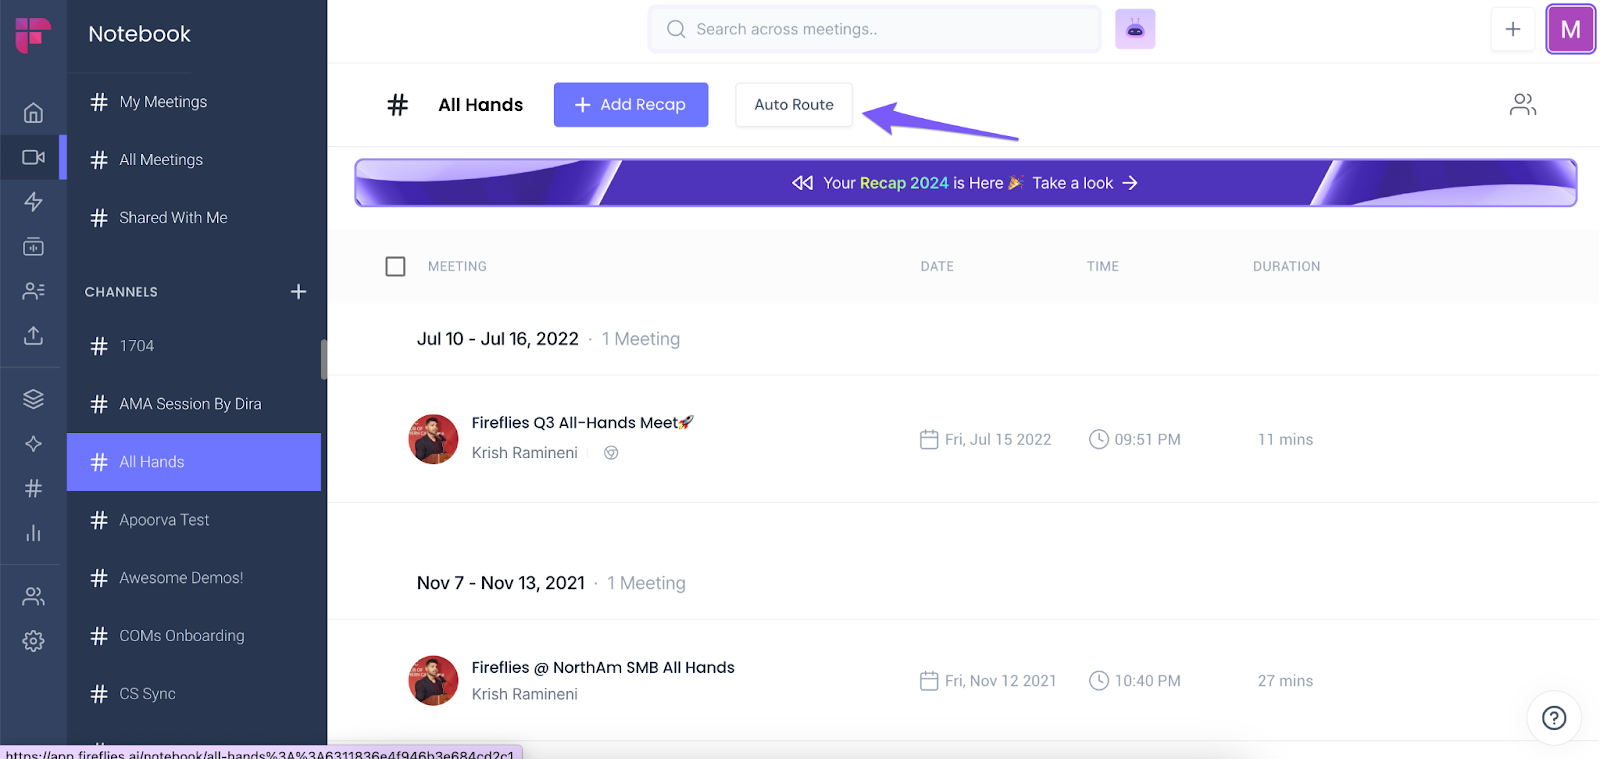
- Auto Route meetings (only on Enterprise tier)
1. Add meetings via the Add Recap option
- Open your Fireflies Notebook and click on the Private Channel you want to add meetings.
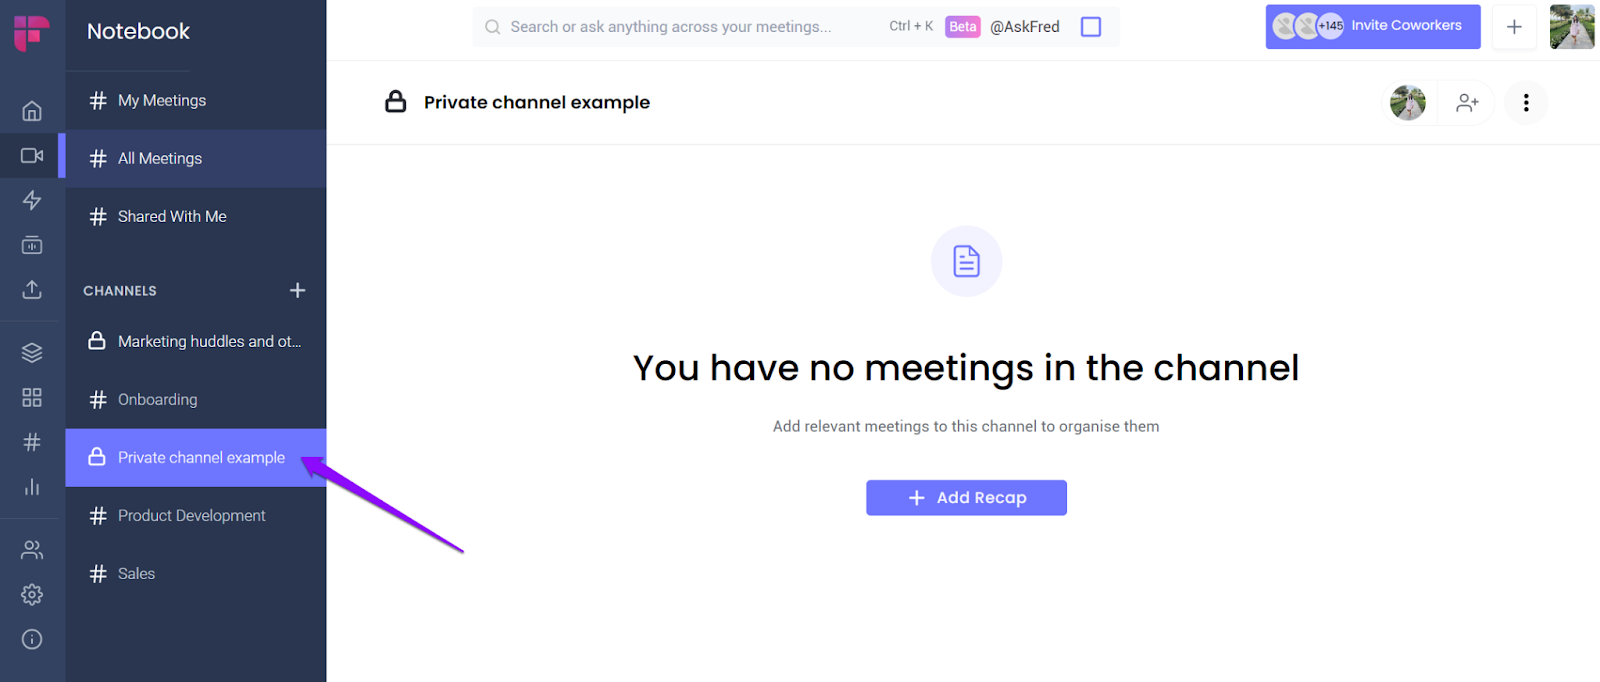
- Click Add Recap.
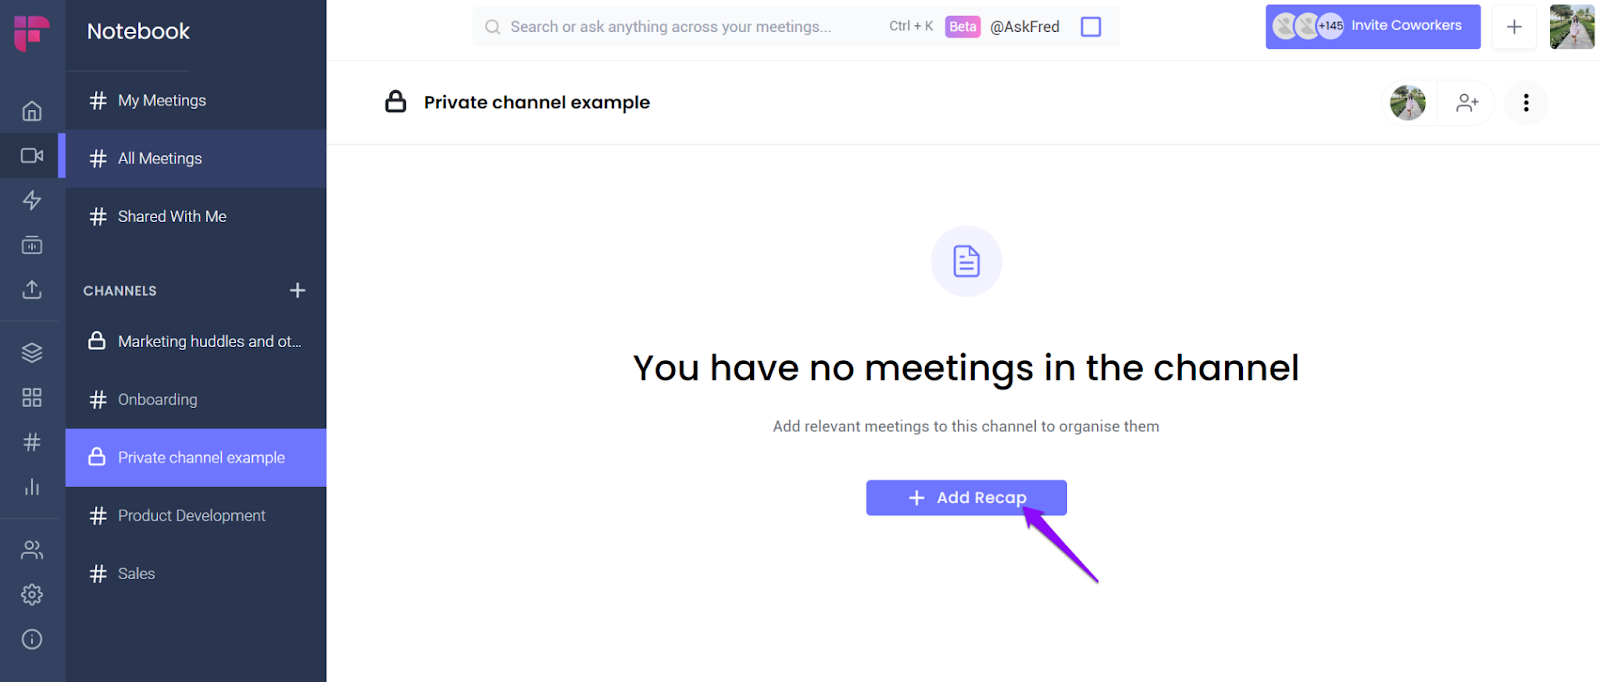
- Select all the meetings you want to add to the Channel and click Add.

- You can select multiple meetings at once.
- You can search for meetings using the meeting title or host email.
2. Drag and drop meetings to the channel
- Open your Notebook and look for the meeting you want to move to.
- Click, drag, and drop the meeting over the Private Channel listed on the left-side panel.

3. Directly move a meeting to the channel
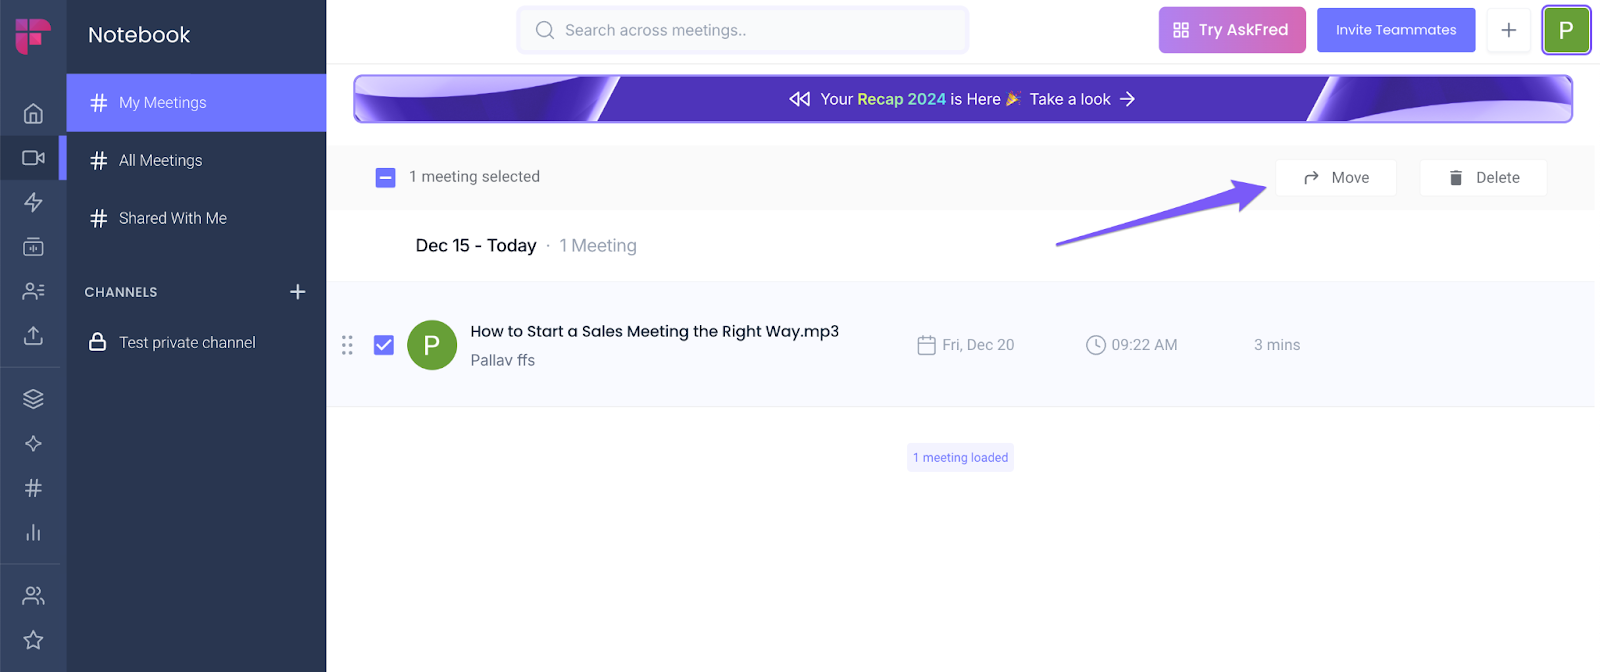
- Go to My Meetings.
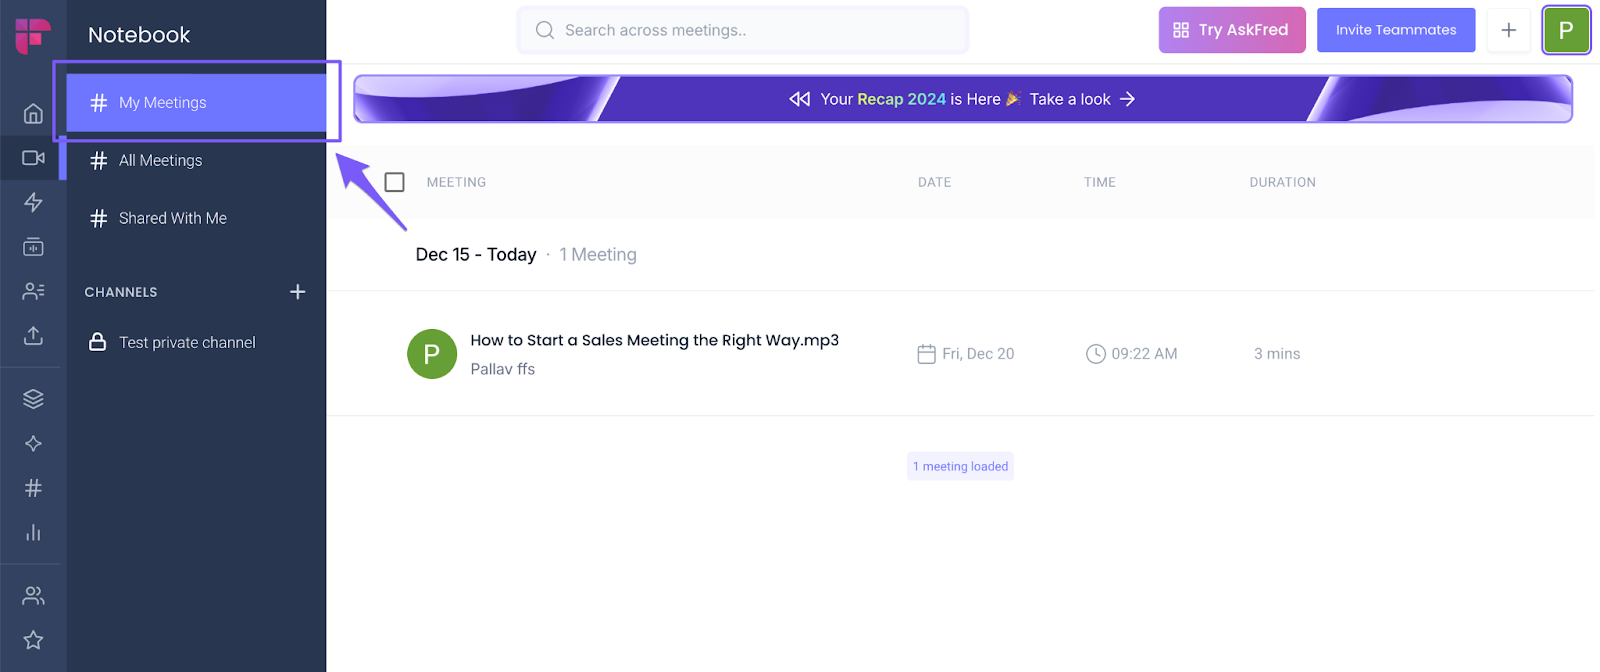
- Hover over the meeting you want to move until you see a checkbox.
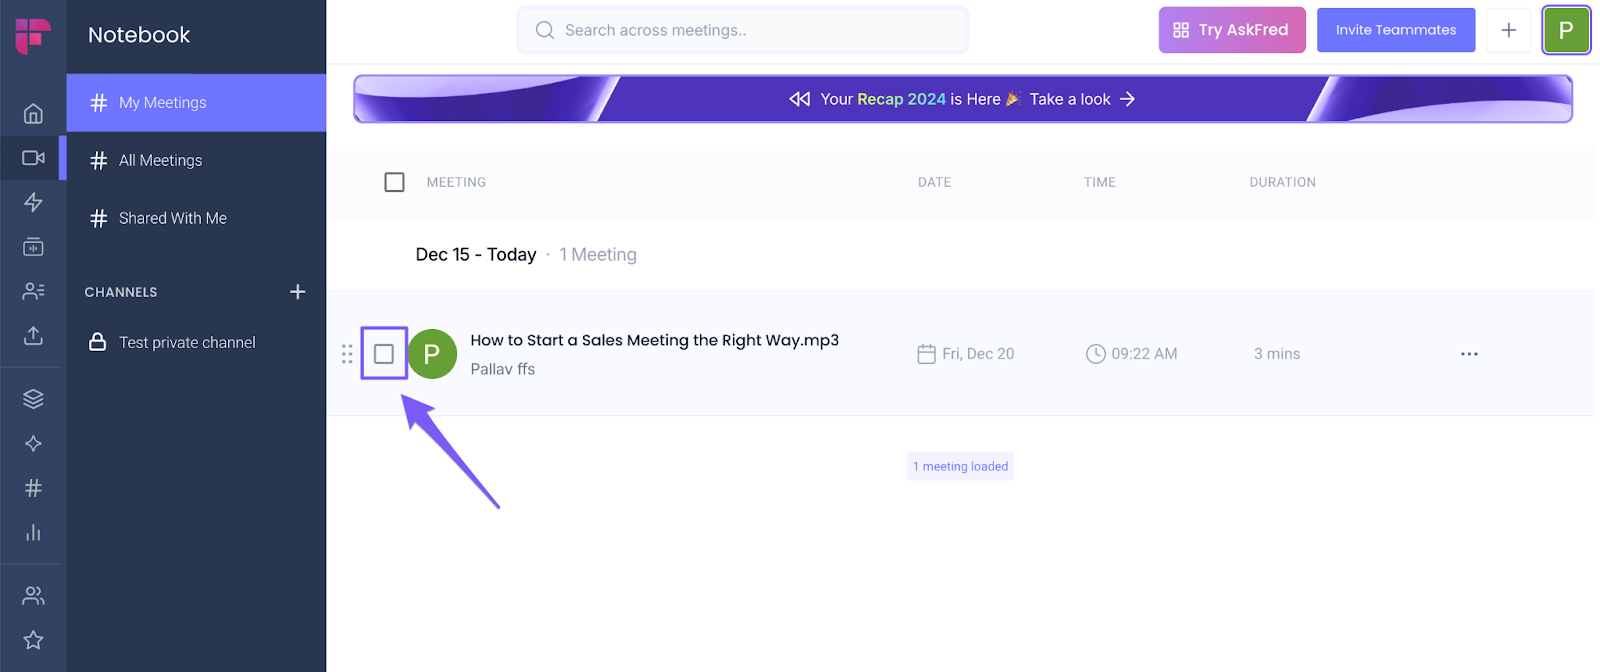
- You can also select multiple meetings at once by clicking on the Meeting checkbox at the top.
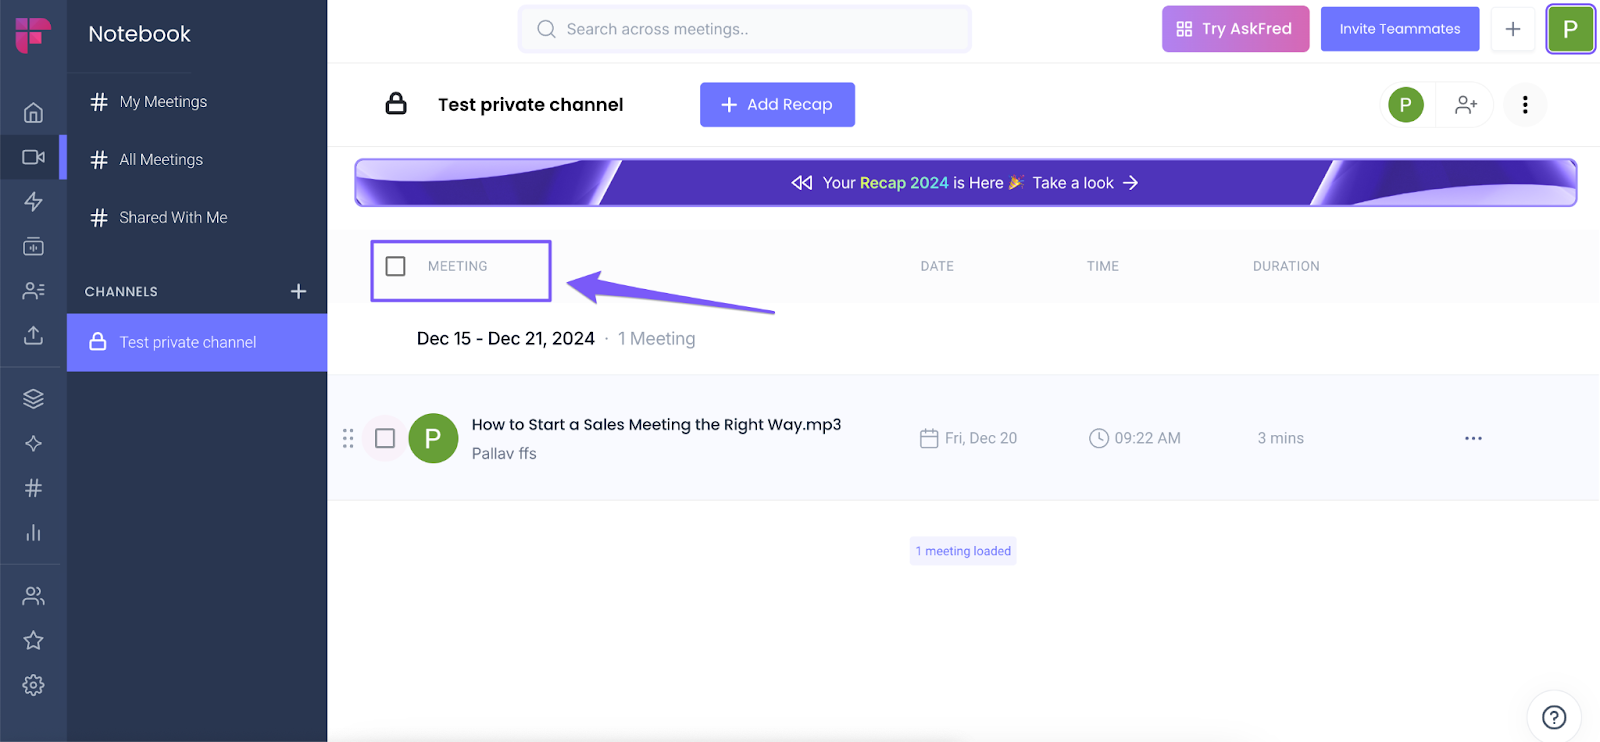
- Select your meeting.

- Click Move.
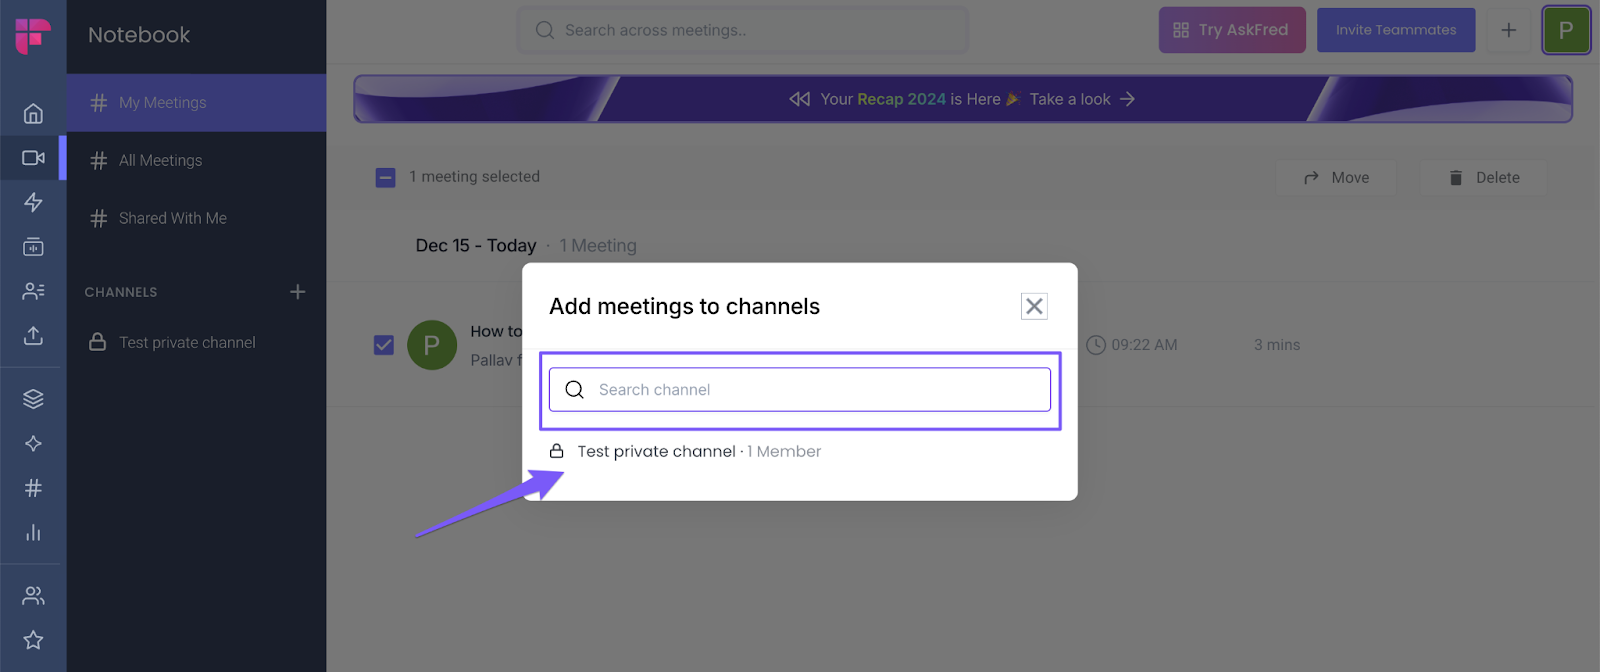
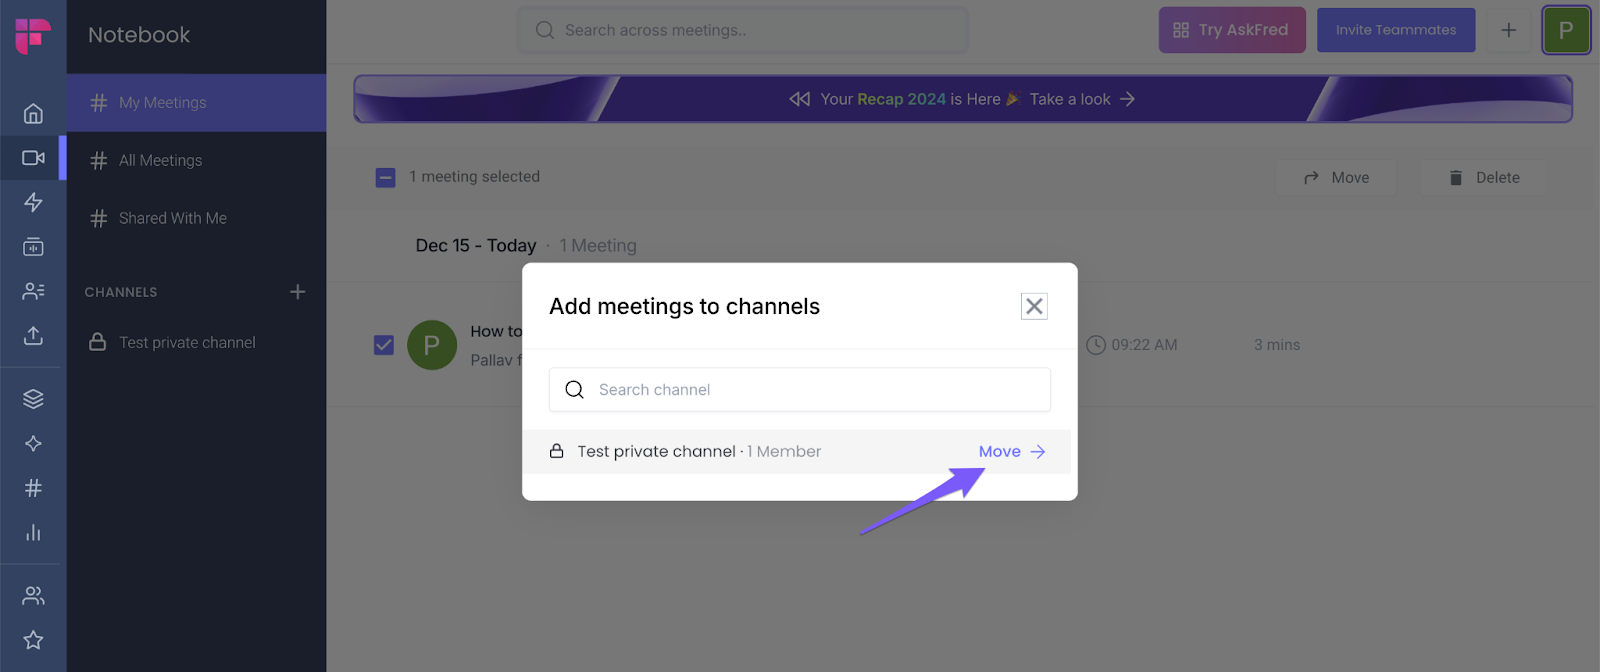
- Click on the channel where you want to move the meeting or search for it in the search box.
- Click Move.
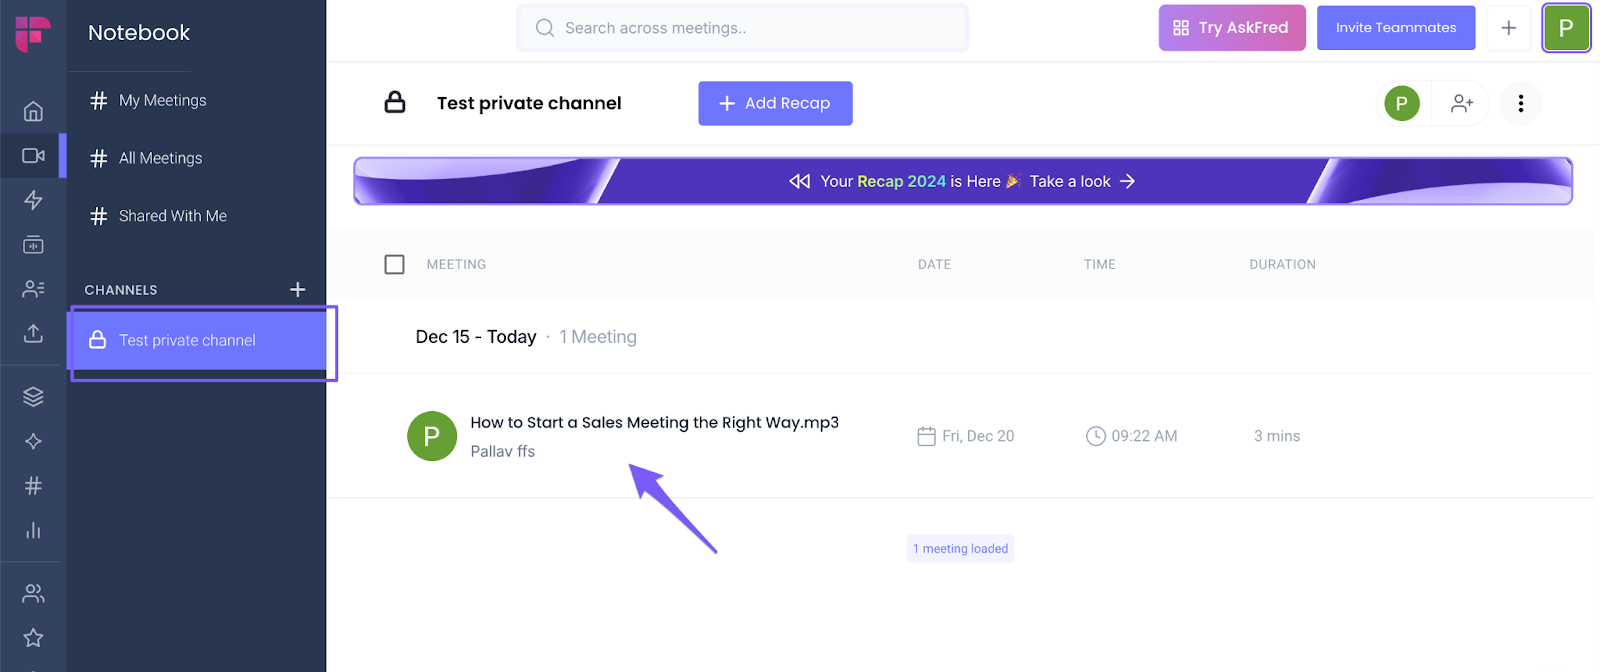
- The meeting will be moved to the private channel.
4. Auto Route meetings
If you're on the Enterprise tier, you can use the create rules to automatically move meetings to a private channel.
Read more: Learn about the Rules Engine feature
How to share a Private Channel
You can add your teammates as a member of the Private Channel to share it with them. Here’s how to do it:
- Click the avatar icon on the top right side.
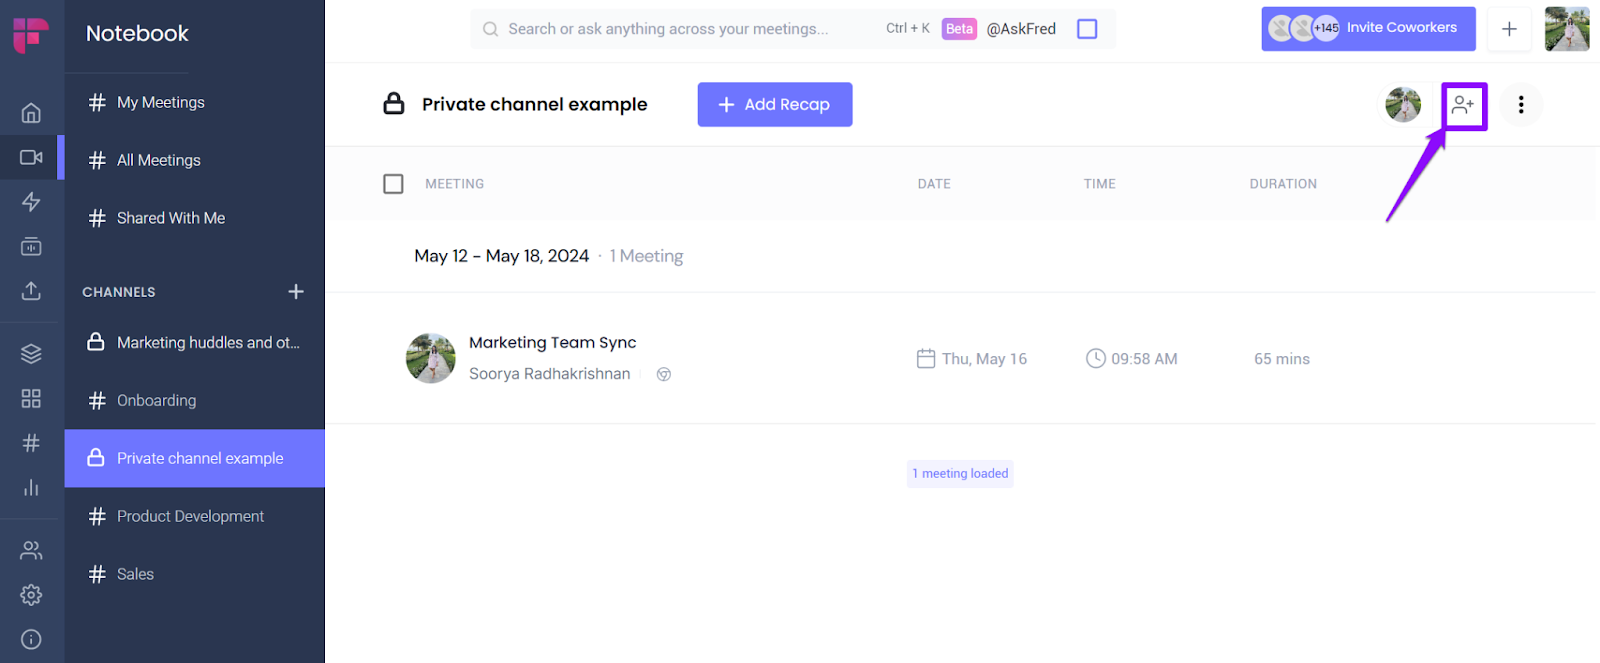
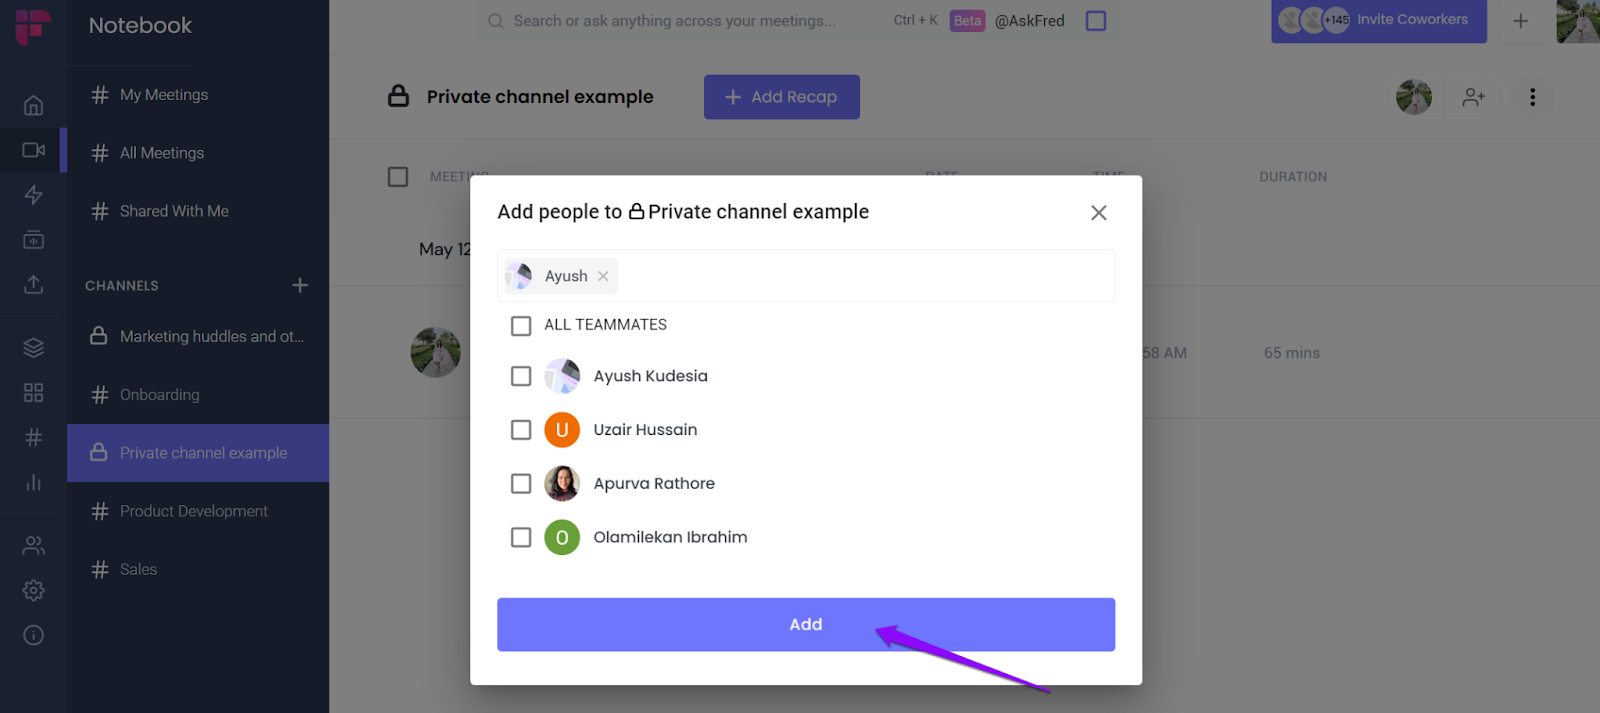
- Select the members you want to share the channel with and click Add.
- To delete a member, click on the avatars. This will list all members of the channel.
- Hover over the member you want to remove and click Remove.
How to delete a Private Channel
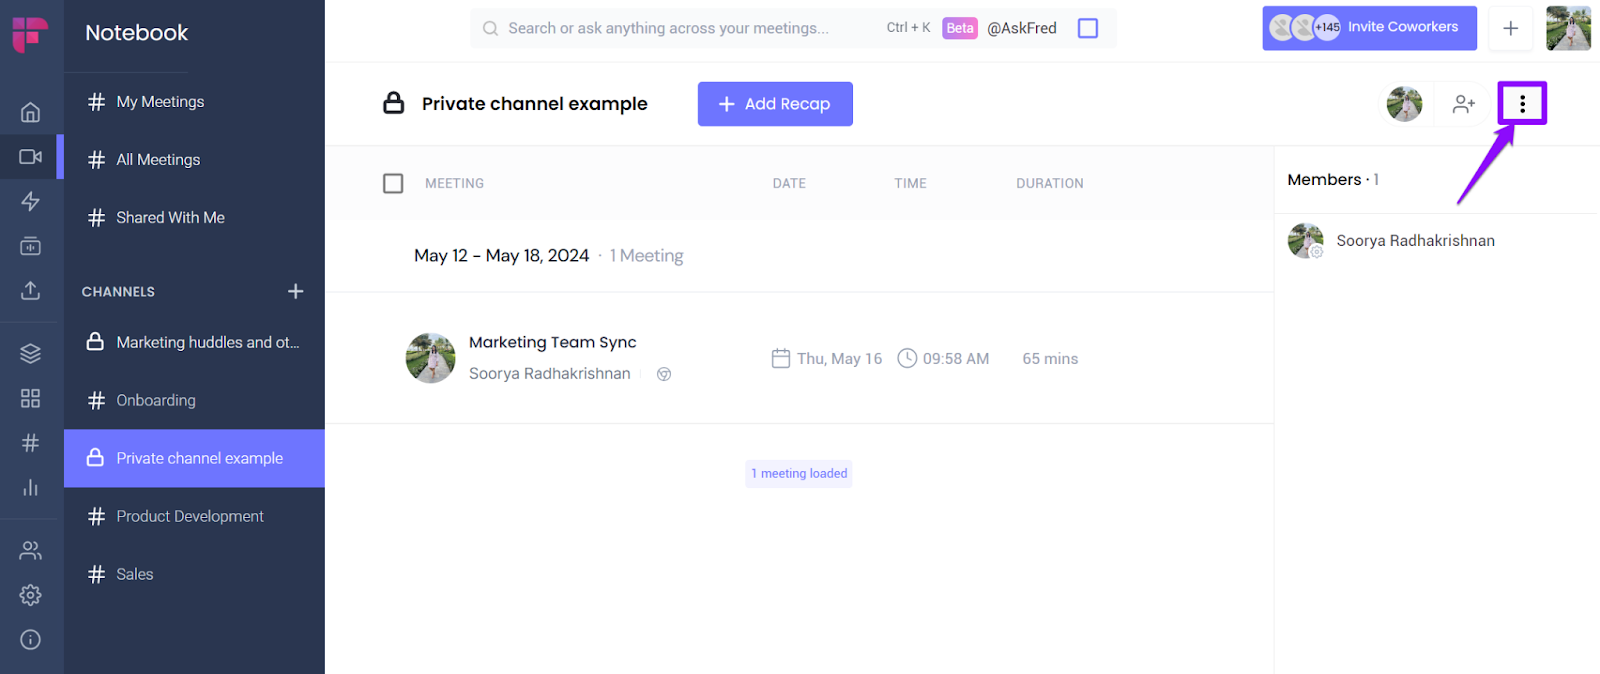
- Open the channel you want to delete.
- Click on the three-dot icon at the top right side.
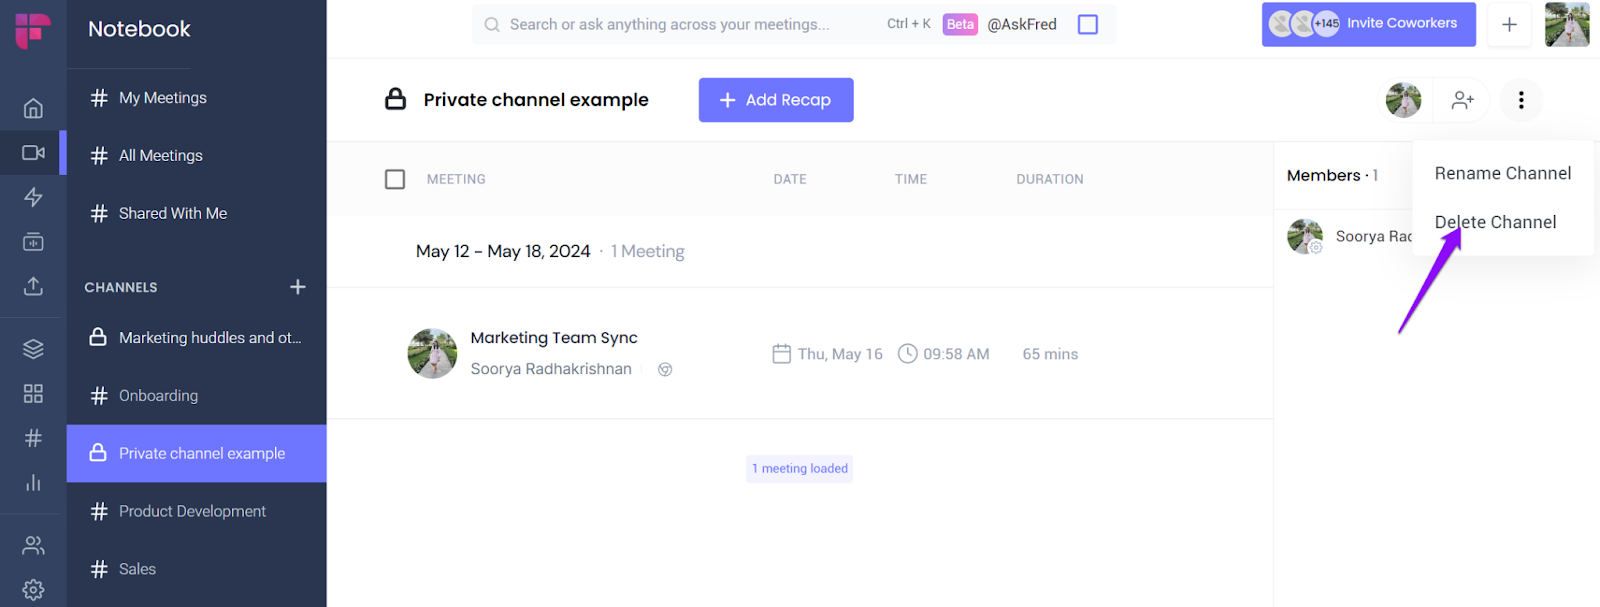
- You will get two options:
- Rename Channel and
- Delete Channel.
- Click Delete Channel.
- Confirm Delete Channel.